Showing posts with label Fall. Show all posts

Monday, November 21, 2011

Thanksgiving Centerpieces {Pumpkin Decorating}

Do you still have pumpkins or gourds laying around?

Let your kiddo in on some process art!  Maybe even create a little centerpiece for Thanksgiving!

I admit, what I'm about to show you is about a month old.  Carter and I made these the night before we flew to Texas.  I didn't want to leave Daddy without pumpkins to put out for Halloween.  But here we are long after and I'm just now putting them on the computer.  They were just going to be passed up and stuck in this thing forever so as a last resort I thought, maybe you can adjust these ideas a bit for a Thanksgiving decor! 

So on the blog they go.


Button a Pumpkin.

Doesn't get much easier than this!

1. Glue
2. Tons of Dollar Store buttons


Carter was having so much fun, we had to "button the back!"


 Tape Resistant Art!

My cousin (shout out to Lauren!) shared this idea with me!  And it was a blast!

Carter's painting attention span lasts about :45 seconds per color.  Ha!  So this was a perfect activity for him.

Using Painter's Tape, cut the shape onto the pumpkin.

For Thanksgiving I'm thinking, maybe trying to cut a turkey, leaves, simple polka dots, or stripes.  What are your ideas?


Paint away!

MOM!  I need a napkin!!

Almost done!

Pull the tape off!  Tada!!

Note:  We used Crayola Finger Paints.  Not the best for painting a pumpkin.  It flakes off.  Would it last a day or two?  Yes.  

(And Carter 21 months)

Wednesday, October 19, 2011

Sticker-ing a Pumpkin: Fine Motor Work


Source: curbly.com via Sarah on Pinterest
I pinned the above picture because it was cute.

No other/educational reason really!  Simply cute and I love that!!

The above blogger used star sequins and tacky glued them to the pumpkins for a Crafty Girls Night Out!  (She also made an amazing sequined drip pumpkin!  You have to check it out!)

Her picture reminded me of those little star stickers and I thought, what a fun Fine Motor Activity!


So we pulled out the sticker stars and stickered away!

(Iphone picture.  Sorry.)
Carter's chubby fingers hard at work!
*Notice the crumbled sticker sheet laying next to the pumpkin.  We had a mini-meltdown.


Fancy, fancy!! 

;)

Peeling those stickers is hard work!!  They were tiny and a bit challenging as the paper would pull up along with the sticker....which caused the meltdown.  Bigger stickers would have been a bit better for him.

Confession:  I totally tried to encourage to push him to pick the silver or gold stars but he wanted the blue.  Bad Mommy!!!


(And Carter 21 Months)


Monday, October 17, 2011

Pumpkin Spice Play Dough

Beware: This was also created on the Coffee-High, long nap day!!

Time for some fall flavored Play Dough!!  
It smells so good, you can't blame your child for wanting to taste it!  Ha!

I saw a yummy Pumpkin Spice Play Dough picture on Pinterest. 
And it didn't look like this.  Mine didn't turn out so nice.

It was too globby at first.  So not my favorite recipe.

But hey, after a little kneading, it was fine.

My suggestion for a recipe is:
+
Use Red and Yellow food coloring.  LOTS of it.
+
Then add 3 Tbs. of Pumpkin Pie Spice OR Cinnamon.


Changing out the COLOR and SMELL of your play dough add a new dimension to their Sensory Learning!  

Teaching Tips:
  1. Play with them.  They will learn by watching you!
  2. Let them explore on their own too.  
  3. Mimic what they do with the play dough.  It will affirm their exploration.
  4. Talk to your kiddo about the new color and smell. Great way to naturally have a Color Lesson!
  5. See if they can roll it into a "snake" or a "ball."  This is skill they have to build up to!! (Note:  The play dough above was NOT rolled by Carter.)

Now, I need a Pumpkin Spice Latte!  Adios!


Tuesday, September 13, 2011

Fab Fall Ideas

Don't forget to take a look back at some of these ideas!


September 26th is Johnny Appleseed Day 

Apple Art

Making Applesauce and growing seeds

Nature Art

Leaf Baggie Books

Finger Plays


And don't forget about the Football footprint!!

More fun coming soon!

Suzie

Monday, March 14, 2011

Applesauce and a Terrarium!

I'm back...kind of. :)

To continue our tribute to Johnny Appleseed we made Blender Applesauce and a Baggie Terrarium.

Blender Applesauce; it's quick, easy and healthy!

Yup, that's it!


Ready to go!


Blend away! Enjoy!


Save those seeds!


Baggie Terrarium:


1. Wash the seeds.
2. Wrap them in a wet paper towel.
3. Place in a baggie and hang in a window for sunlight!
4. Check every few days and keep towel damp.

We already have little sprouts!


Saturday, March 12, 2011

Johnny Appleseed Day

This is Suzie posting for Sarah. China has blocked them from facebook and blogger! Boo!!

Johnny Appleseed Day is celebrated twice a year, fall (September 26) and spring (March 11). So it's time to get your apple on!


In short, Johnny "Appleseed" Chapman was an American pioneer nurseryman. He introduced the apple tree to large areas of Ohio, Indiana and Illinois. (Wikipedia for more.) He is so special that he gets two days a year! Wow! The fall date is his birthday and a great time for apple-picking while the spring date is for appleseed planting. You have to plant to pick, right?


There are SO many great activities that you can do centered around apples it is ridiculous. I want to share so many with you!!

Read This: The book below is a favorite because of the great illustrations:


Sing This:
Johnny Appleseed

Oh, the Lord is good to me,
And so I thank the Lord,
For giving me the things I need,
The sun, the rain, the apple seed,
The Lord is good to me,
Amen !


First we observed and talked about the different apples. (This is a small apple. This apple is green. etc.)


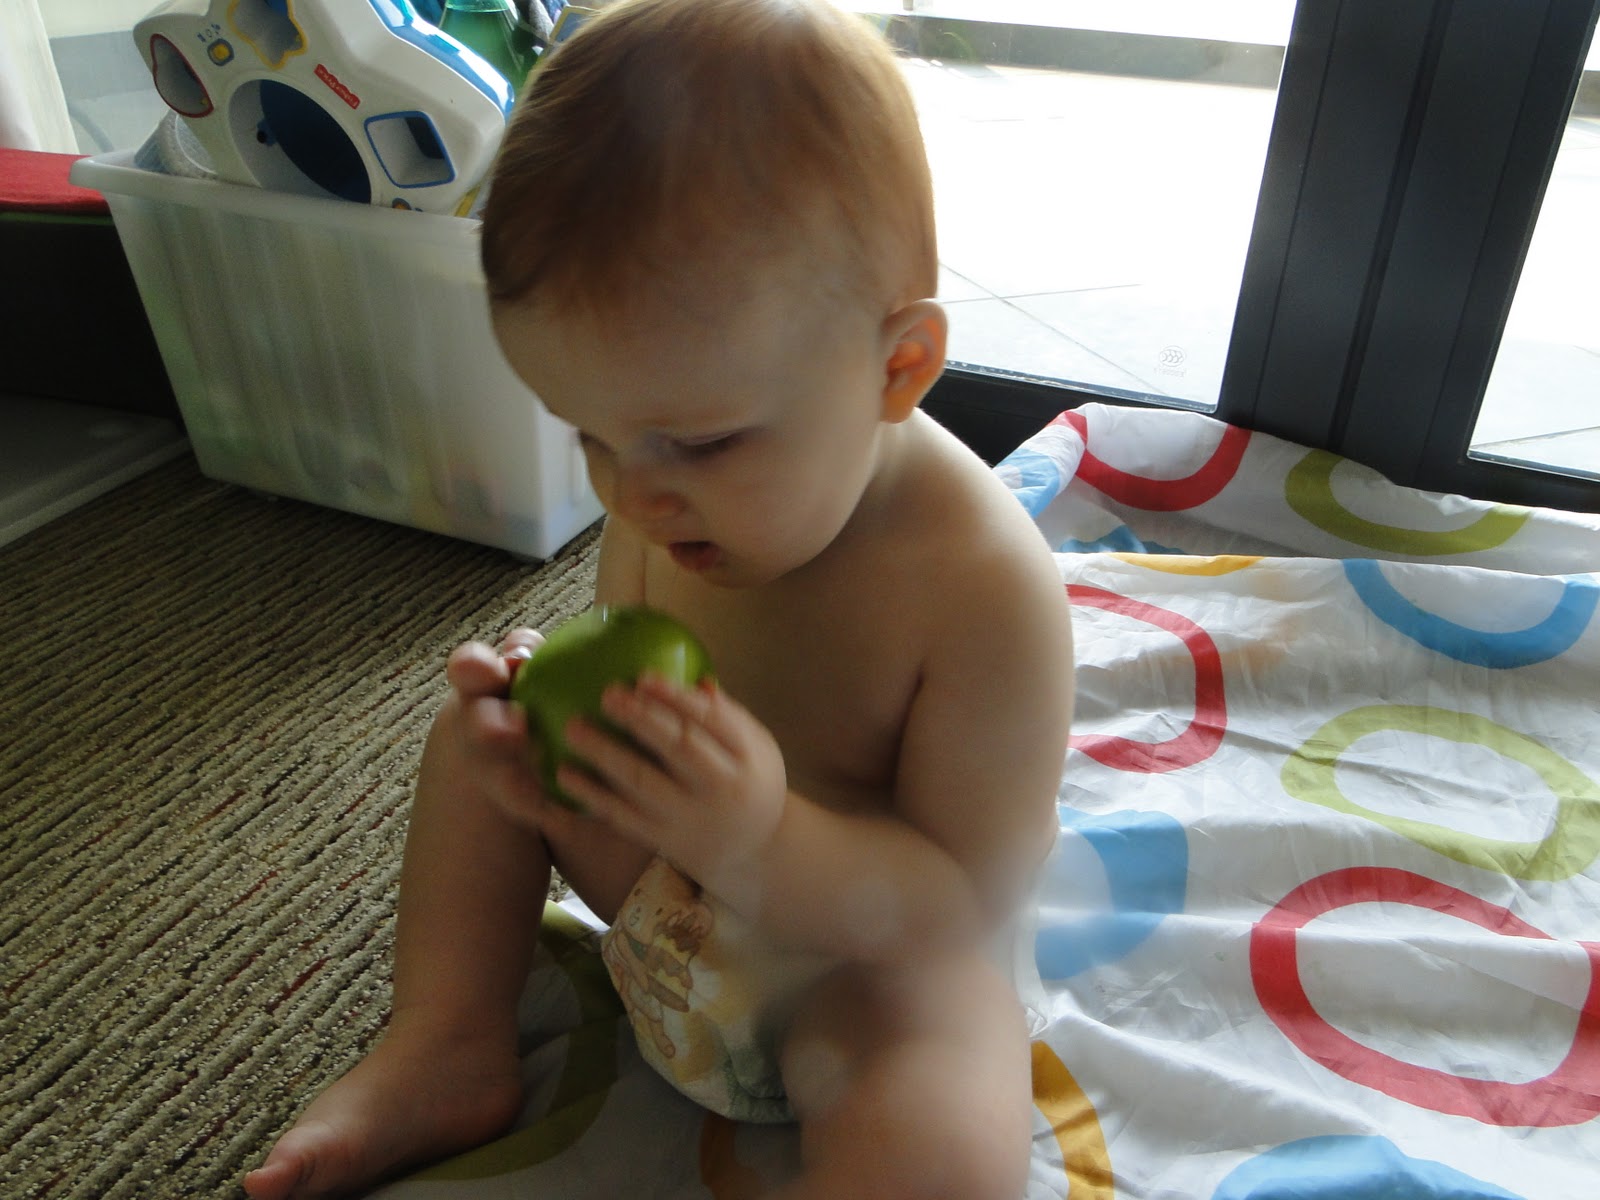
Then he initiated a taste test.


He preferred the red.
Next, we did a little apple painting. I have a video of how to do this, because I couldn't take pictures, but I'll have to show it later. You put paper in a box-type container. (We used a rectangle Tupperware.) You blob the paint on the center of the paper and roll the apple around the box. Add in different colors and different apples!


Once again, things got a little messy! But we had fun!
This is defiantly process art but cut them into the shape of apples to hang around for a couple of days!


Tuesday, November 30, 2010

Glitzy Christmas Pumpkins!

Fall is over and Christmas is on its way with gusto! The stores have been decorated with lights and tinsel for months, just anticipating everyone packing away the Fall decorations and finally pulling out the Holiday Glitz!

If you are looking for a fun activity for your little one to work on during your dinner prep ,"witching hour", try this fun alternative to TV. It is a fun way to bridge from Fall into the Christmas season!


  1. Pull out your fall pumpkin, glue, small scraps of Christmas wrapping, ribbon, lace, bows, etc.
  2. Put the pumpkin on a tray or newspaper and let your children collage the pumpkin with the Christmas supplies. Children can snip the supplies on their own, or you could offer them "Mom (pre)cut" supplies.


3. After the glue has dried, they can paint the collaged pumpkin with Modge Podge for a hard, shiny finish.

Remember, enjoy the process and HAVE FUN!!!!!


Monday, November 29, 2010

Still Thankful...I'm Thankful Book

Being thankful doesn't end at Thanksgiving! Right? So here is the latest book to our collection. It is SUPER easy to make and it is by far Carter's favorite!

All you will need is:
1. Cheap-o photo album. (This one I use is defiantly Dollar Store quality: No cover, just the plastic drop-in-picture pages!)
2. Photos of family and friends. We all have TONS of photos in the computer...just print some!
3. Print these labels to put on each page. Don't have label paper? Just print and tape!


Action shot! Carter checking out his cousins! Hi Lex, Ella, Luke and Hudson!

Naked Carter, Clothed Mommy and Daddy! (When I get to the naked Carter picture he usually looks up at me and laughs! Ha ha!)

Teacher Tips:
  • Use highchair time wisely! This is a perfect opportunity to read books and sing songs! This is where the book originated, but now it has been added to his book basket and he has it out almost all day long!
  • When reading, follow the words with your finger, look at the pictures, talk about everyone and everything in them. Talk about how they look and what they are doing! Ask questions!

And I'll leave you with our final turkey pic. If you still haven't done it...do it! Their hands will be even bigger next year! :(

Wednesday, November 17, 2010

Apple Time!

Apples are a staple at snack time in most homes during the autumn season. Red, green, yellow... they are all great!

A fun cooking activity for your little one is:

Open one roll of canned biscuits
Separate the biscuits and lay on a cookie sheet
Spoon in two spoonfuls of apple pie filling (canned)
Fold the biscuit over and press edges together with a fork
Brush melted butter over the bread and bake in the oven at 350 for 10 - 12 minutes.

Individual apple pies or tarts!

YUM!!!!!

Save 1/2 apple for some art fun.

You can press in one popsicle stick in half of the apple or just use your fingers to hold it and start painting.


For Toddlers and two year olds:


1. Press apple in your choice of color of dry jello (add a couple drops of water to dampen the powder)
2. Press the apple on to a piece of paper.
3. Perfect example of a sensory experience. You can taste it, smell it, see it and touch it!


For two and three year olds:

1. Press apple on a stamp pad.
2. Press the inked apple on a piece of paper.


For three and four year olds:


1. Press apple in assorted colors of paint
2. Press the painted apple on a piece of paper.

Try this too: cut the apple in half different ways and enjoy the different prints.


Have FUN!!!!!!


**A few picture examples have been added to our nature art post! Check them out!

Monday, November 15, 2010

Turkey Time

Who knew that keeping a blog updated between three people could be difficult? Okay, so it's not really difficult but you know how life gets crazy at times. So crazy that a long moment at the computer just never happens. Well, apparently it happens to three people at the same time!! Probably more once you throw kiddos in the mix!

Here is a little glimpse of what we are working on here in China.


You guessed it! The good old-fashioned hand turkey. We just did the print this morning! It was quite a sight to see. I know the house-keeping crew (Have I mentioned we live in a hotel?) thought I was crazy. I even tried to show them a picture of a hand turkey painting online. Still didn't make sense. Not sure why I thought it would! HA!

Well, it is a bit sloppy, but hey my little man is 10 months today! As you know, they grow up WAY too fast. Take a moment to celebrate their tiny features.

Once touched up, this fine piece of art will replace the Bum-pkin Art currently in the frame.

Gobble, gobble!

Friday, November 5, 2010

Leaf Book (Ziplock Baggie Book)

While jogging the other day, I noticed tons of big leaves on the ground! So we stopped for a quick break to explore the leaves! Luckily, my camera was still in the stroller from Halloween!

"This is serious work!"

"Why wouldn't I try and eat the leaves?"


I wanted to take some leaves home to let him check them out a bit more. So I snagged a few leaves on the way out.

I was just going to put them in ziplock baggies for him to explore. But, knowing him, they would be chomped to pieces shortly after. SO I decided to make them into a little board book with hopes that they will last a bit longer.

Here's how it was done:

The supplies: Cheerio Boxes for cardboard...I live in China, remember.
Ziplock baggies. These are the pages and cover. I used 6.
Durable Tape.
Hole puncher.
Glue.
String or Ribbon for the binding.
Leaves.


Here is the start of my pages. I cut out the cereal boxes and glued red paper and leaves. If I had a Target I would just buy colored poster board and glue the leaves. Even quicker, 3.5x11 card stock...time is precious!

Lots of tape (and my dog hiding under the desk). One piece per ziplock bag.


Add each bag, one by one, with a piece of tape. Then tape the whole length of the binding really well. This will make hole punching really easy too! Then give it 4 punches!


Tie them up! Again...if I had Target I would use yarn. But as you can see, it doesn't matter!


Then stuff the pages in the baggies!


I have an extra page at the end where some pictures of Carter in the leaves will go!

THE
END.


© 2011. All Rights Reserved. | Custom Blog Design By Penny Lane Designs